I’ve been busy the past few months getting all those projects I’ve wanted to do done! I worked for weeks on my Master Suite makeover and can’t wait until I’m finally done (working slow!) and can share. But for today, I wanted to share my DIY Farmhouse Mirror. And for all you who are budget conscious too, it was under $50!
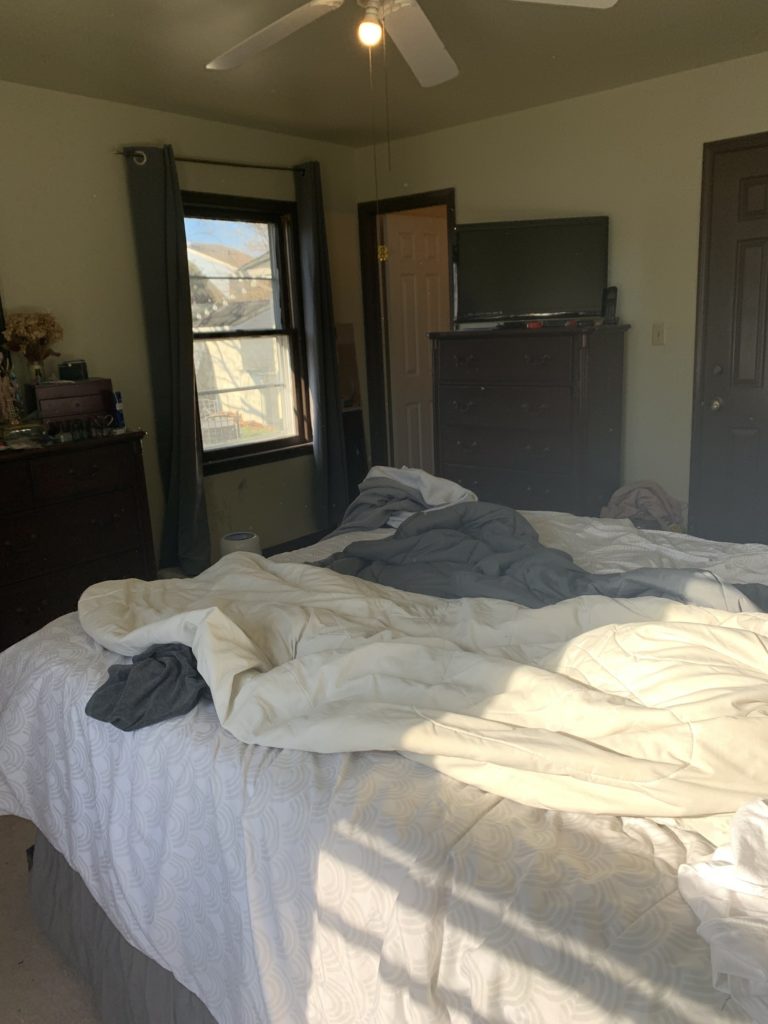
When we moved in 15 years ago this floor length mirror was attached to our bathroom door. Over the years it’s fallen, a corner has broken and well it was starting to be a pain! As I was scrolling Pinterest for my vision board for our Master Bedroom I kept seeing these gorgeous Farmhouse Mirrors and thought I could make that!
So I did!! And you can too!
I measured my mirror and drew up my design plans (I do this for every project I do! My husband thinks I’m crazy but it works and all my projects turn out great!) I then went to my local hardware store store and grabbed some 5 inch pine boards. I love using Pine boards for my projects! They are cheap, nice wood and paint well!
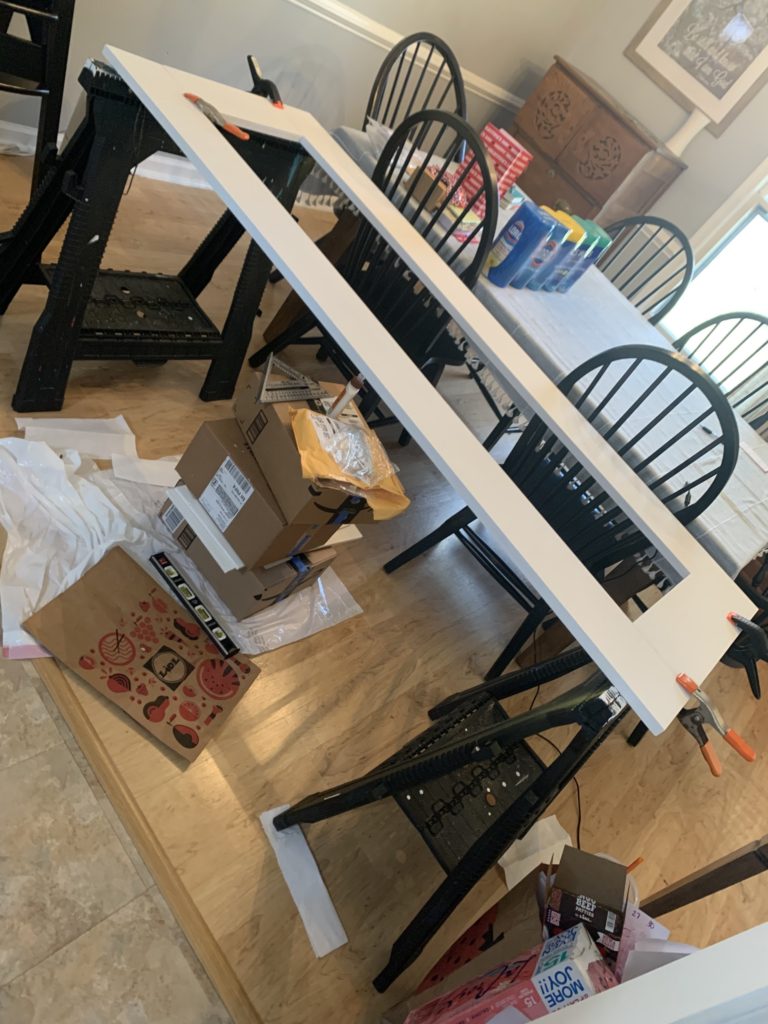
Once I had the boards, I laid out my design on the ground before I started cutting. This double checks my measurements. You know the phrase, measure twice, cut once. That should be my motto! I made sure to cover the mirror with each side by about half an inch. I cut my 4 boards to their specified lengths (if you don’t like using power tools, your local store will cut the wood for you), sanded them and then painted them. I know most people paint after they put it all together but I love painting mine before then touching up once it’s all together, to me it’s just easier! I painted it the same white color I used in my bedroom, Valspar Swiss Coffee. I make my own chalk paint using Calcium Carbonate Powder. I love how smooth is goes on and how amazing it looks on all my projects! Plus, I can make it any color I want!

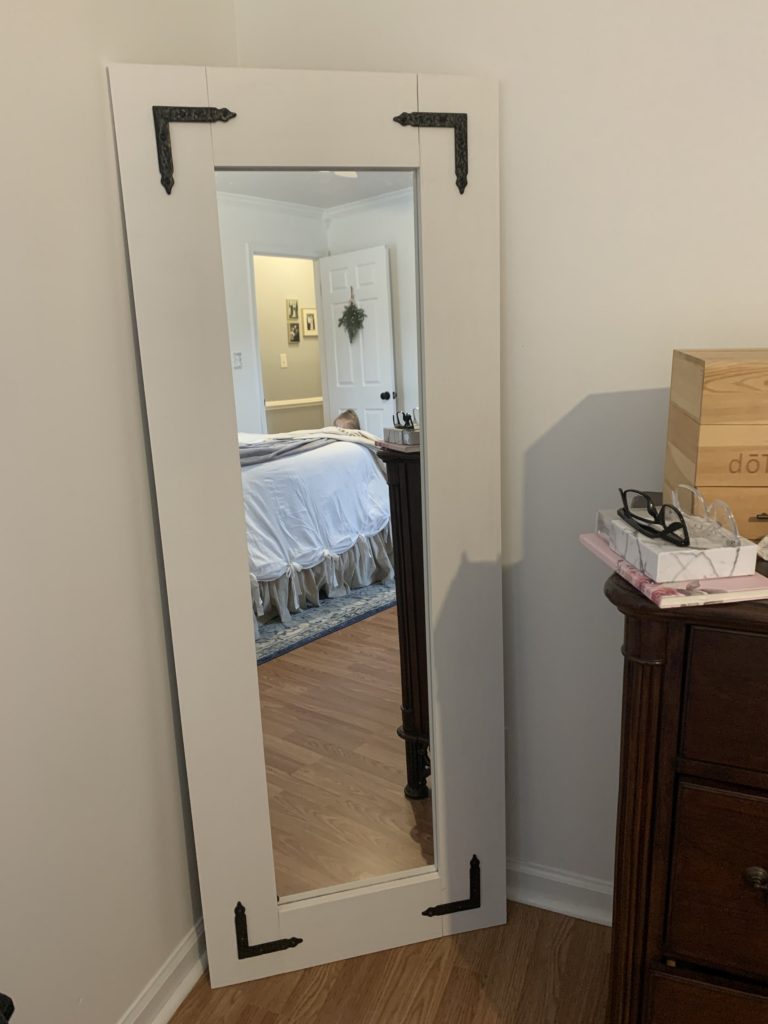
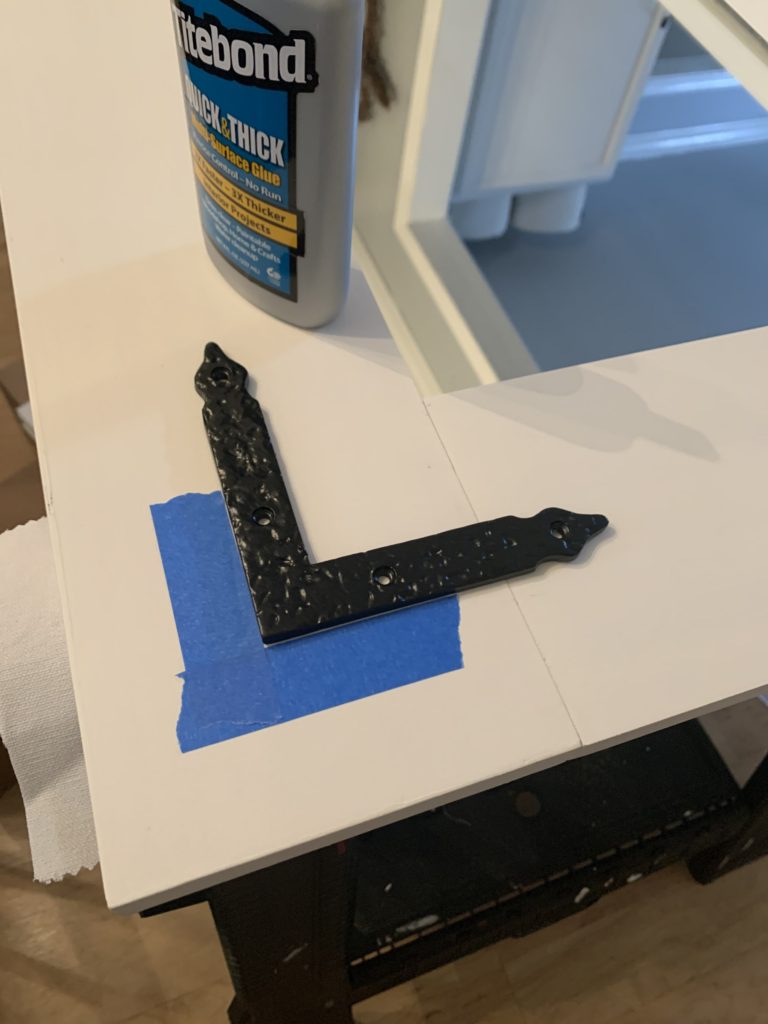
I used Gorilla wood glue and clamps, along with my trusty right angle, to put the frame together. I let it sit for 24 hours before I took the clamps off or even touched it. Then I attached the metal L braces for both the farmhouse decoration and to hold the frame together (otherwise it’s just the glue holding it all together.) I measured the middle of the boards plus the corners and used painters tape to mark where the brackets will go. I glued the brackets first and then used the included screws.
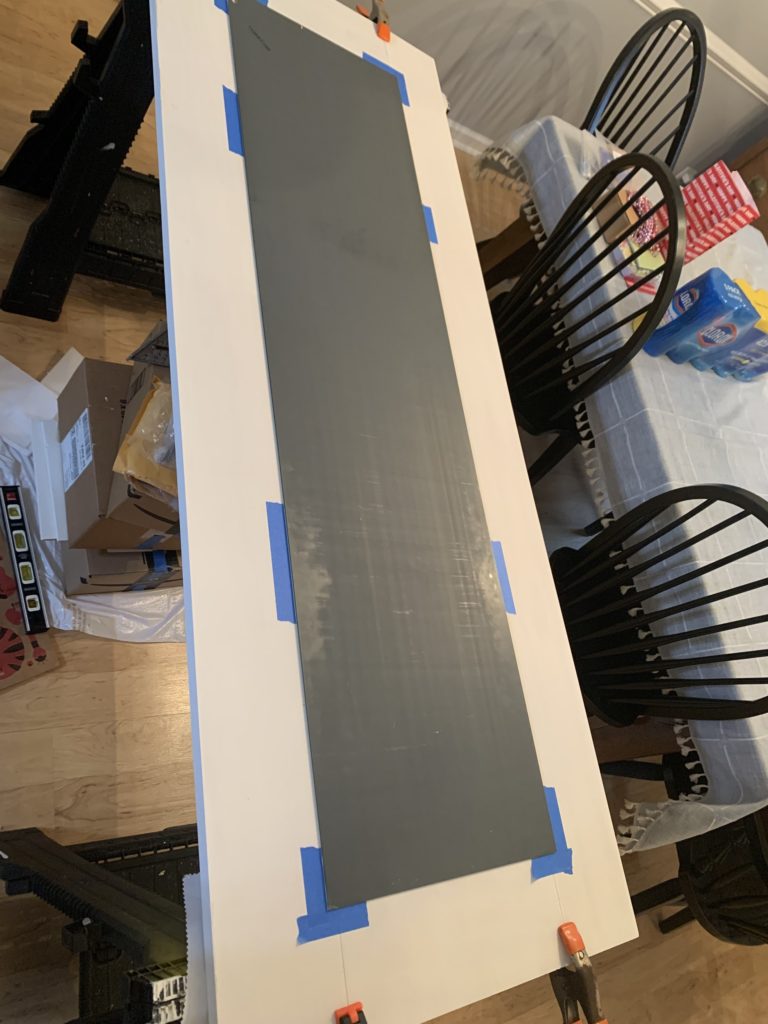
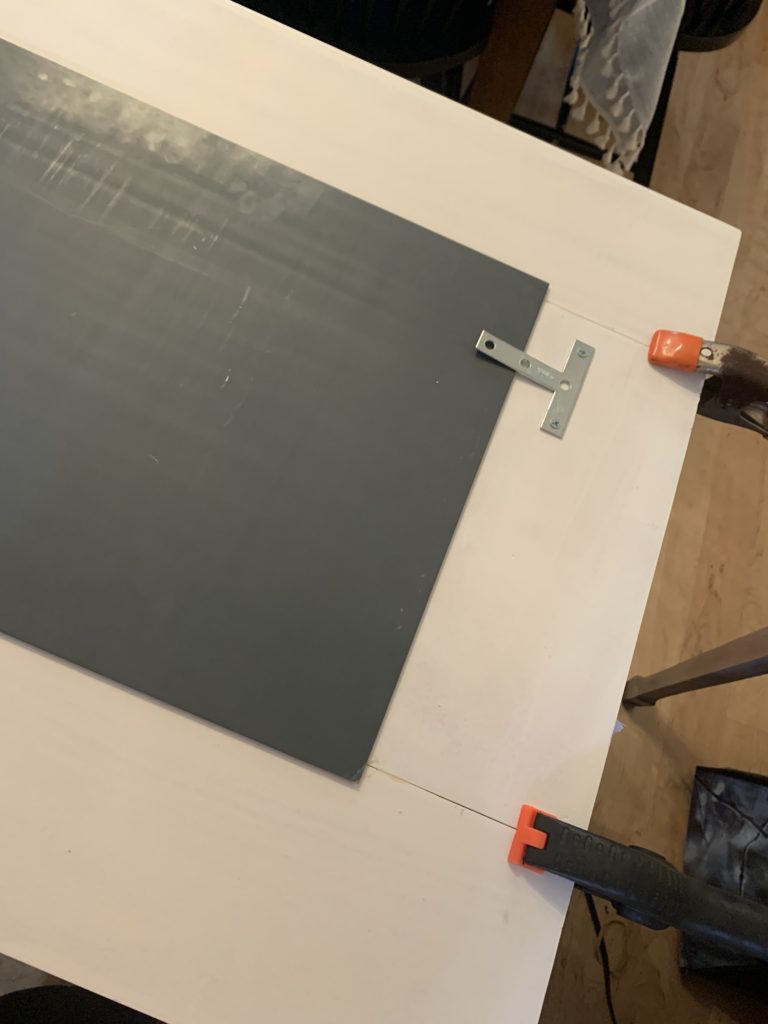
Once the frame was together I needed to attach the mirror. Being a perfectionist I am picky about everything being laid out right. I measured half an inch from the inside and put painters tape down. This helps when I go and lay down the mirror. I used a bead of all purpose glue around the edge of the mirror and then placed it on the frame from the back (I had my 10 year old help me with this so I had it placed correctly the first time). Remember I said earlier I made sure to measure the boards to that the frame was covering the edges of the mirror on each side by half an inch (at least!), this is why! The easiest way to make this frame was to glue the mirror from the back. Then once it was dry I use metal T brackets on the top and bottom just to hold it in place a bit.
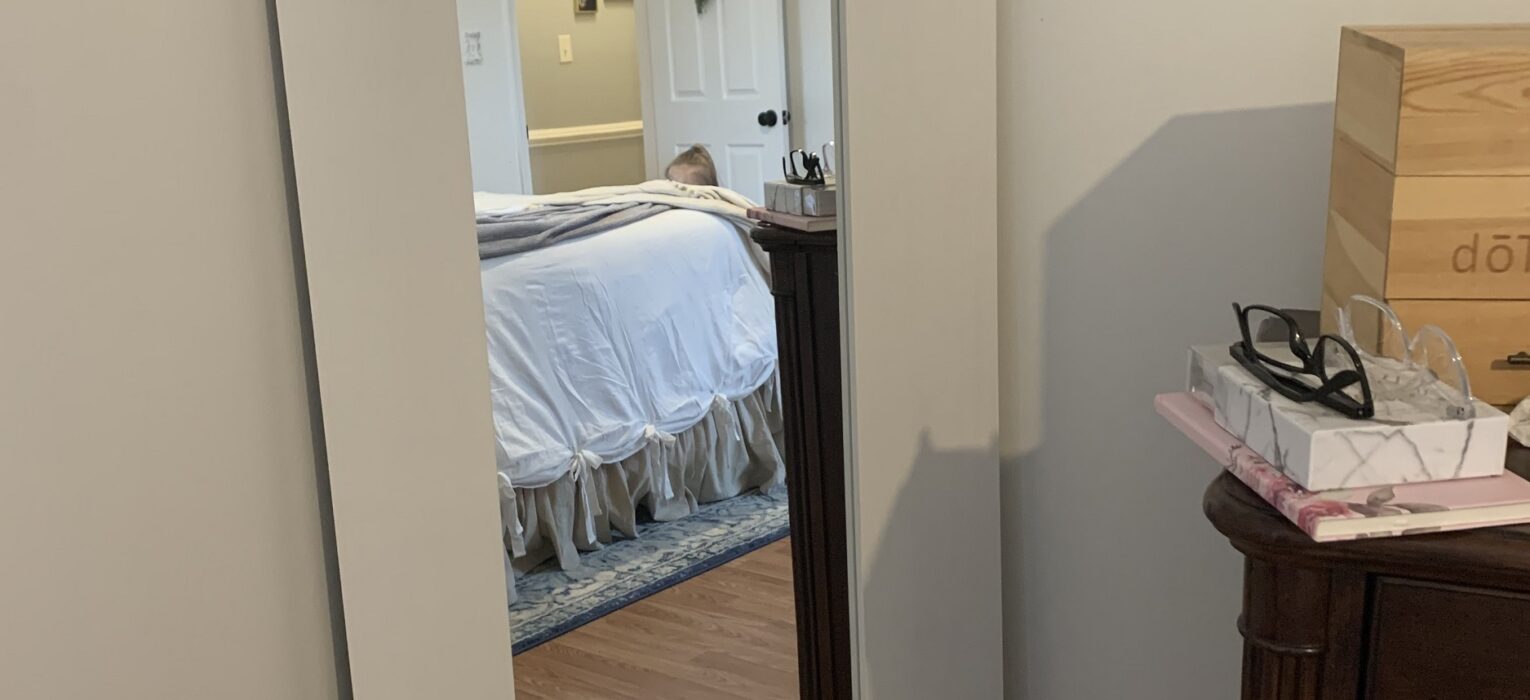
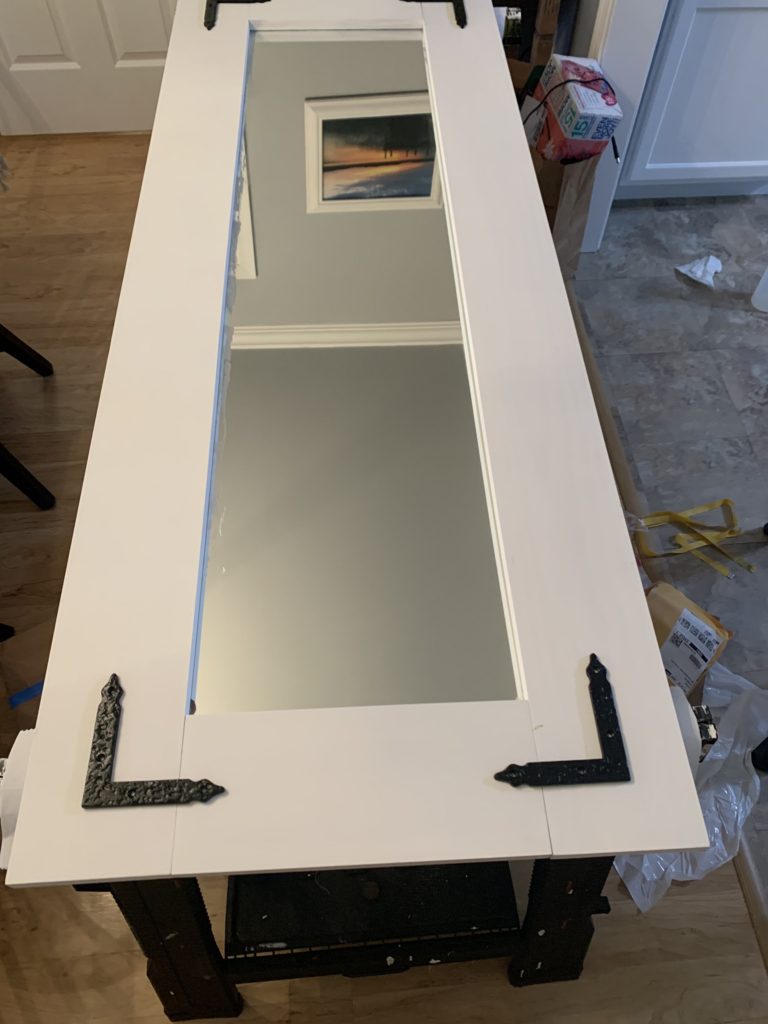
And done! I put it in the corner of our master bedroom and I couldn’t love it anymore! It cost me under $50! That’s amazing when you compare it to the ones you can find in stores and online from $75 to $300! So I will take it! Nothing like a good budget friendly DIY!
I hope this post inspires you to build something! I believe anyone and everyone has the talent to create something they want! Let me know in the comments what you plan on building! Check back soon for our master suite remodel reveal!