As an Amazon Associate I earn from qualifying purchases
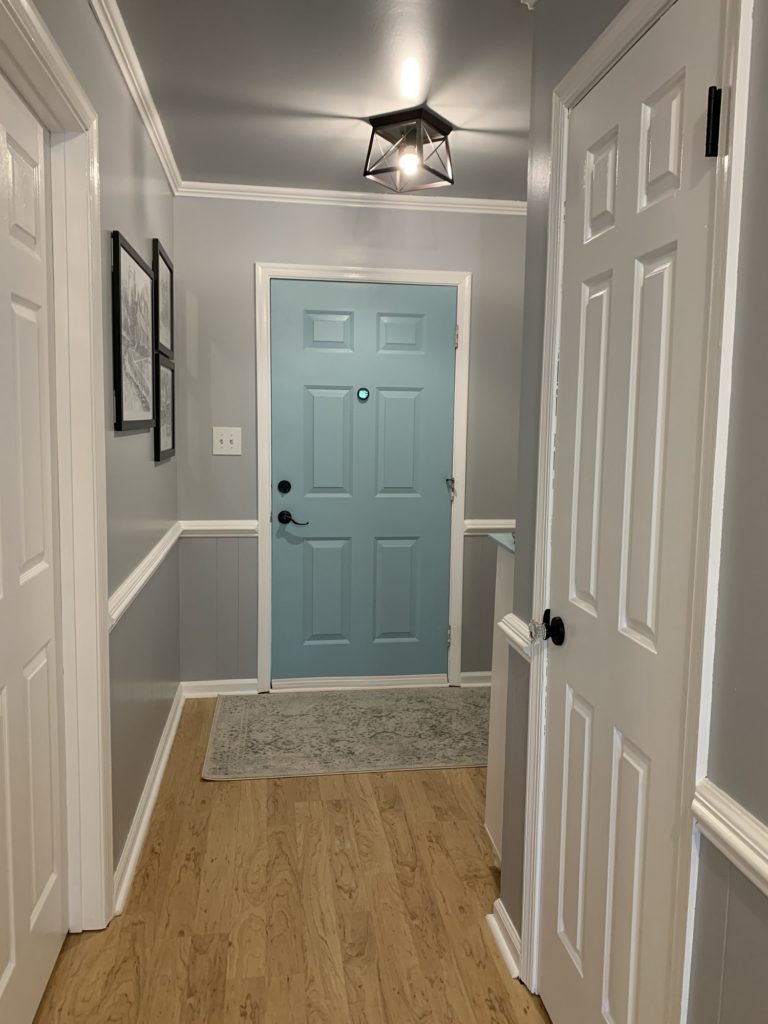
I love the view I see now every time I walk back to the bathroom or bedrooms. My new foyer! This makeover was much needed and didn’t cost me much money at all!!
Need to spice up a space in your home, do it!! You will love the result and it will make you happy, and who doesn’t need happy in their life right now!
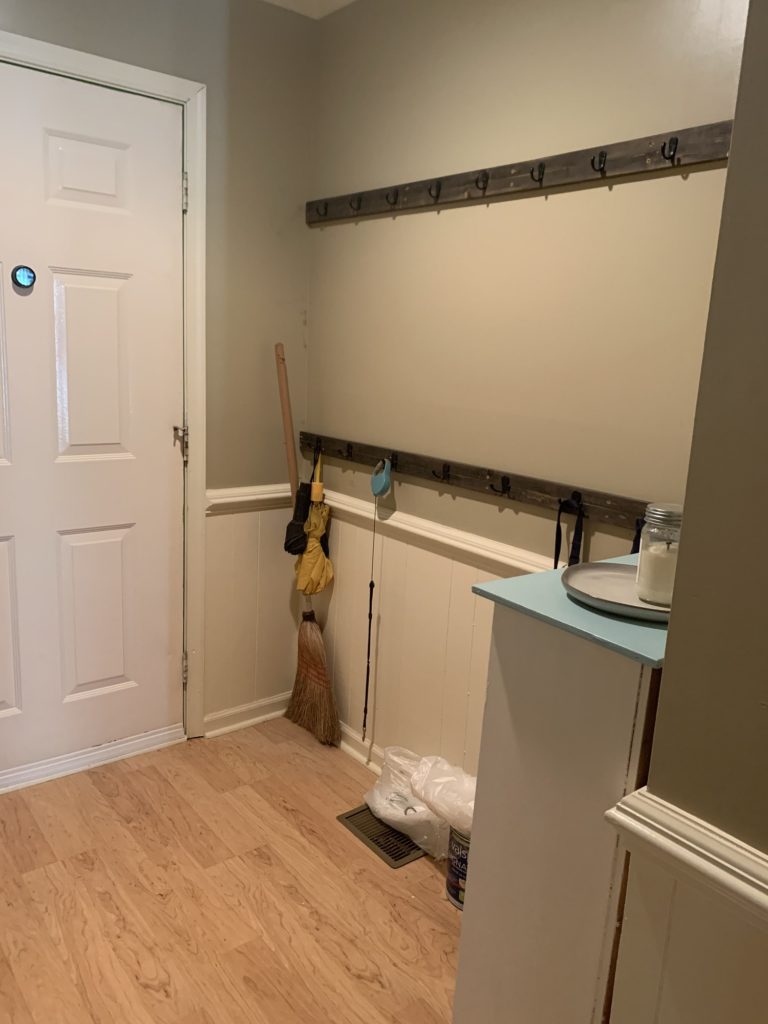
Before, tans walls with cream wood work and some black 
Down the entry way hallway. What a mess!
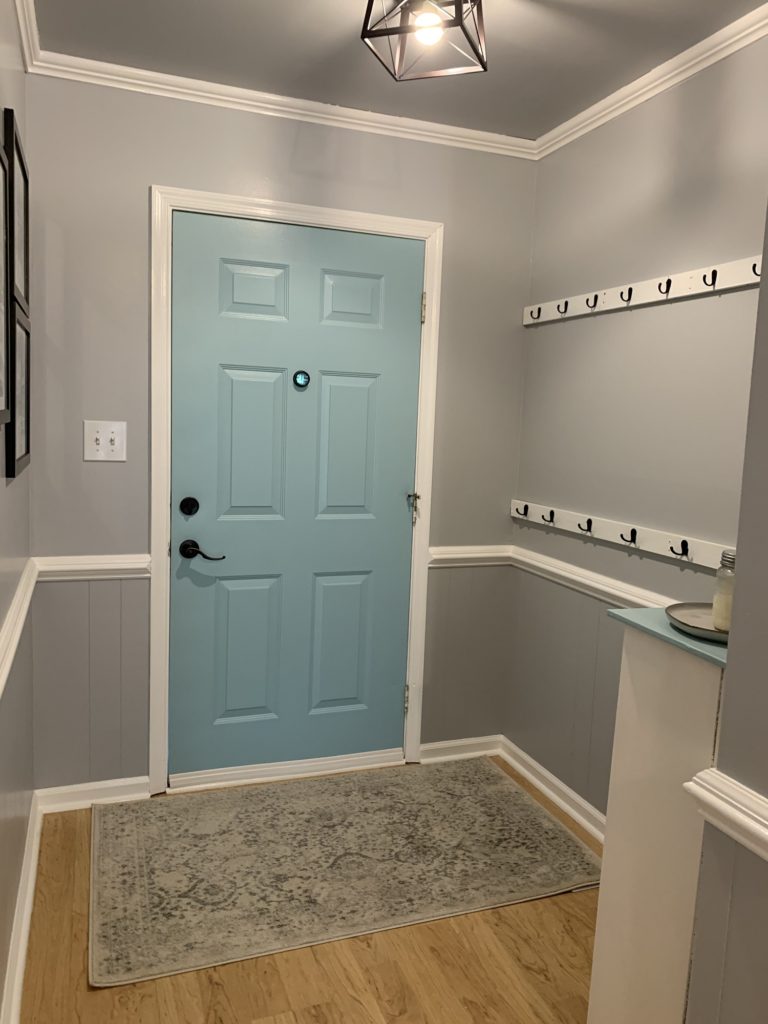
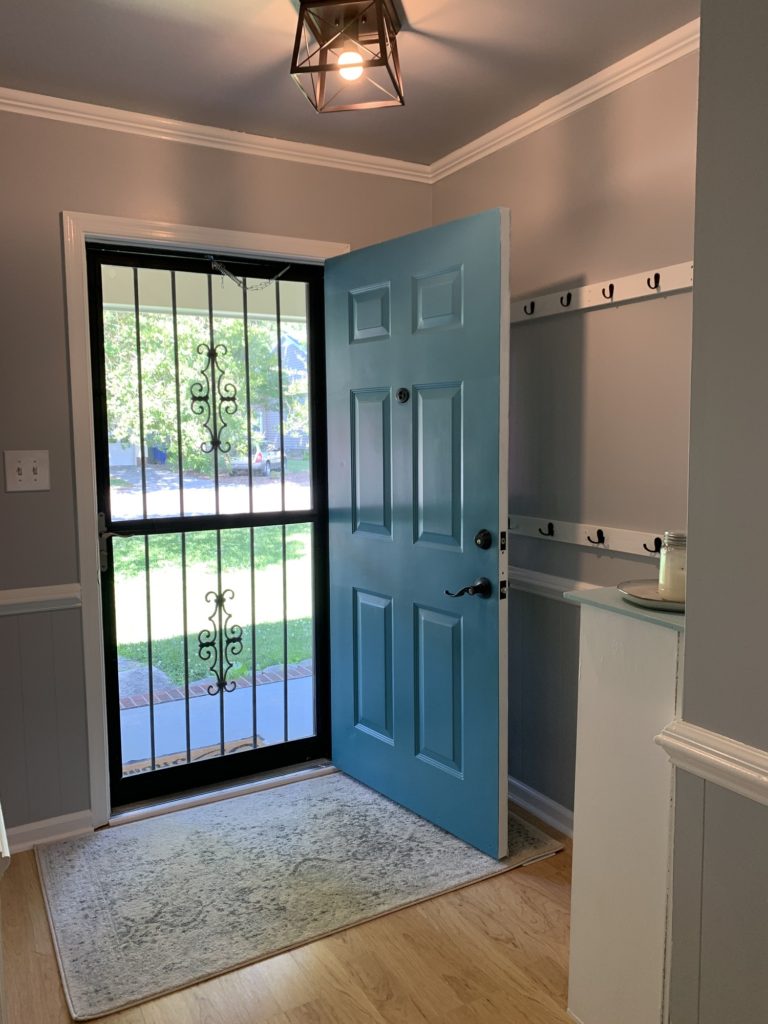
So let’s begin. First I painted the wood work bright white and the walls and ceiling grey. These are the colors I have chosen for the entire house. I love them together and think it brings clean lines. I use Valspar from Lowe’s because it’s easy to get, cheap to buy and you can get it with the primer already in it (less steps and painting – yes please!) The white is just that, bright white and the grey is called gravity.
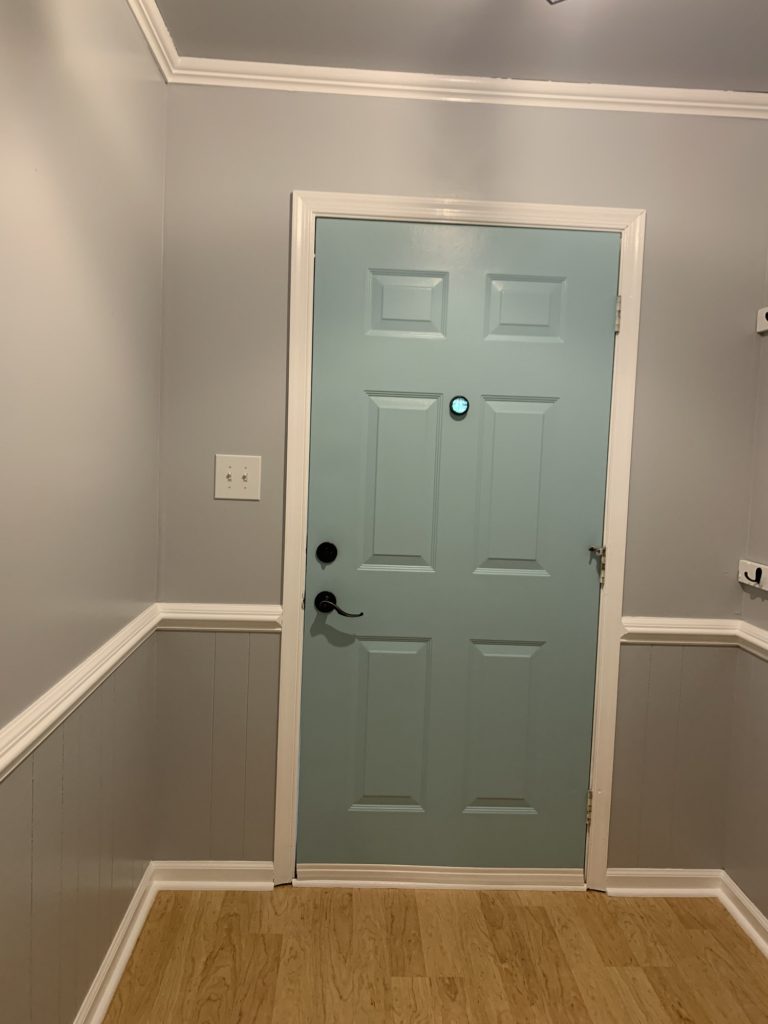
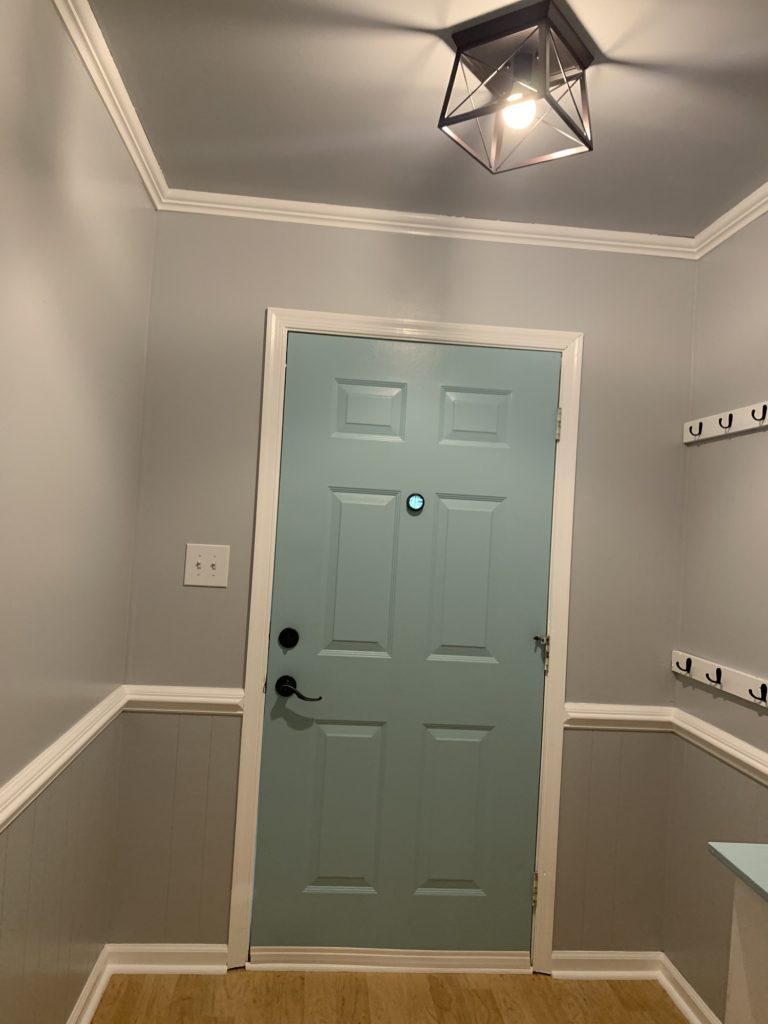
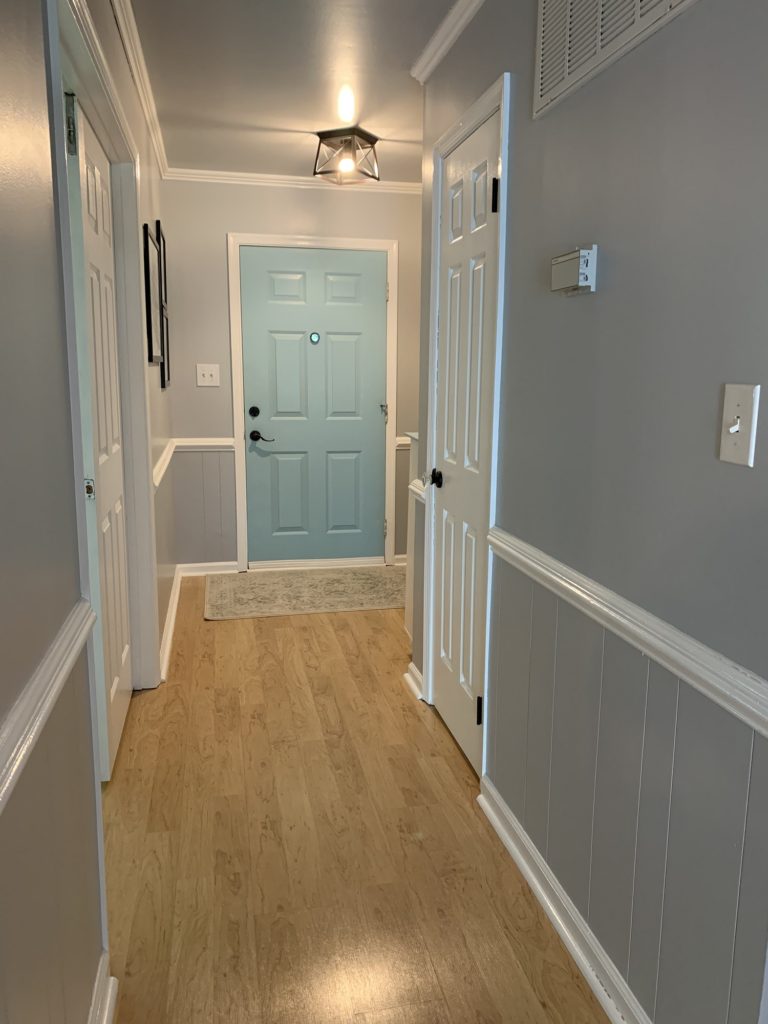
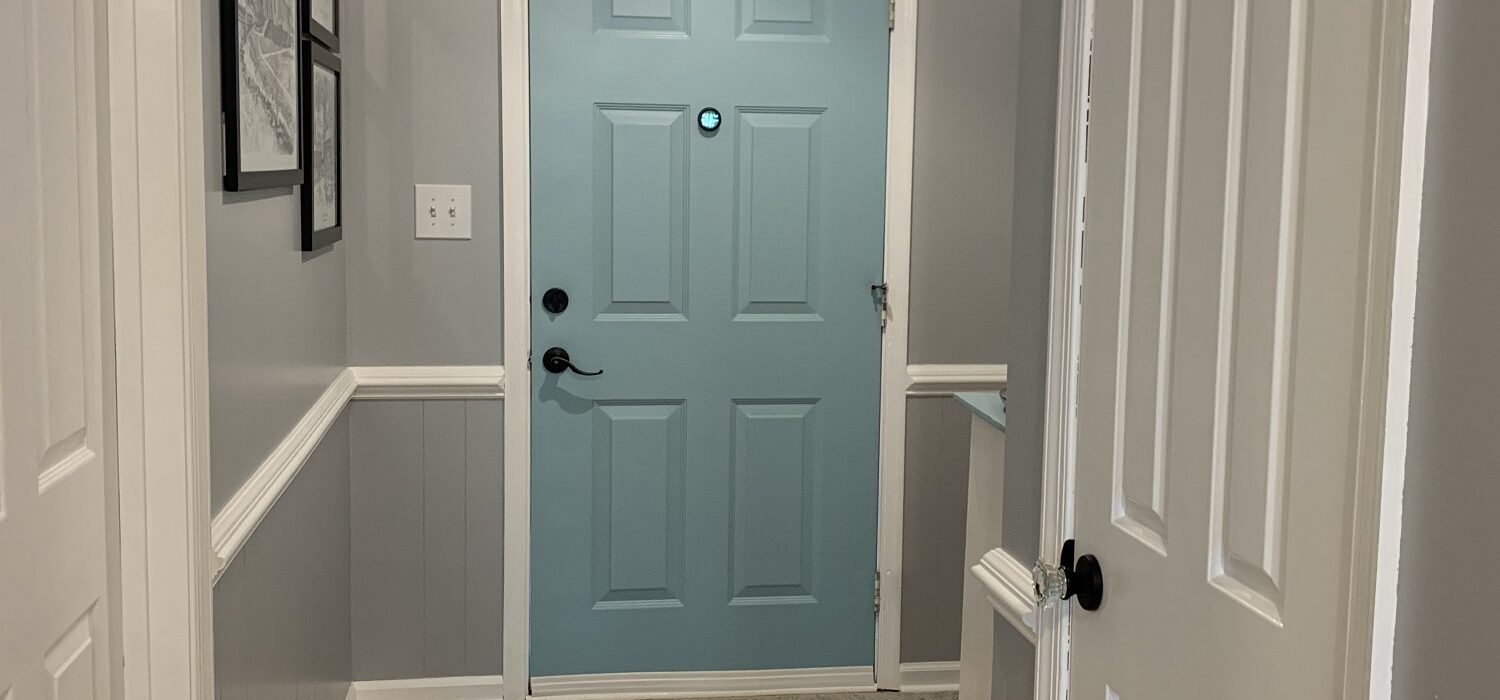
Before I worked on the foyer, I painted the front door (you can find that blog post here). Once the front door locked amazing I decided I needed to paint the back side of it. We keep it closed most of the time, so why not look at something you like? I chose to paint it the blue accent color I am using throughout my house right now. Doesn’t it look great in that space?
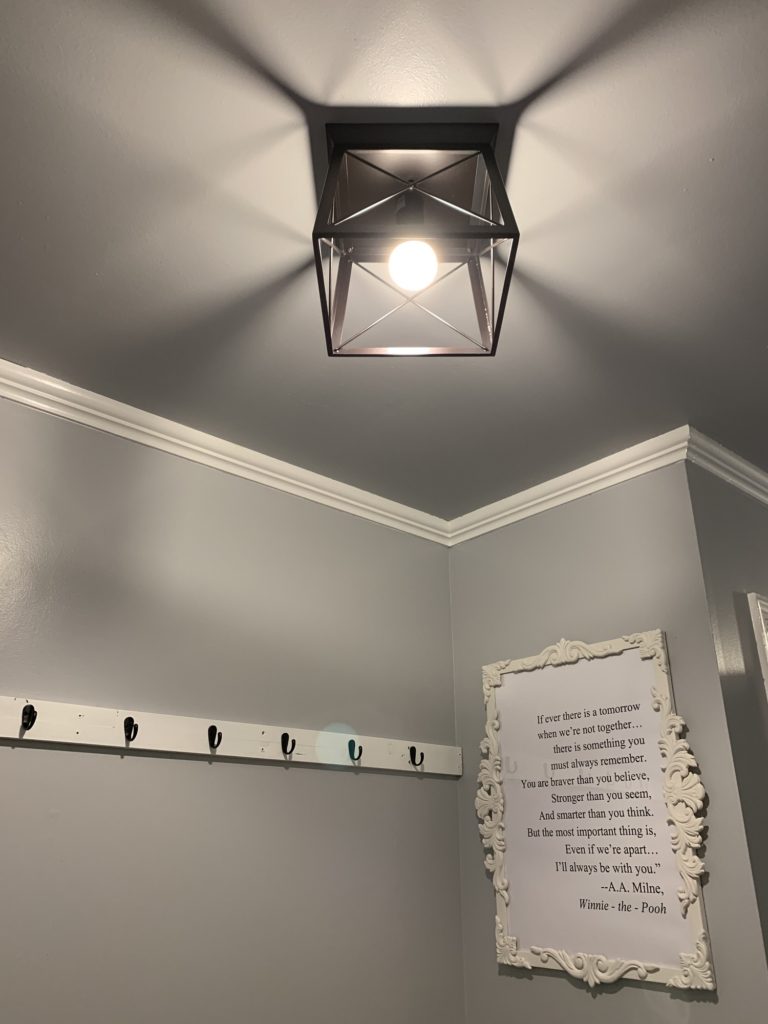
Once I painted everything I had to chose a new light fixture. We replaced all the “boob” lights in our house when we moved in 14 years ago and I was done with them. I found this amazing product on Amazon that converts a recessed light. So if we ever wanted to go back to them we could (not in my time at this house!).
Once hubby used the kit, he just put in the new light fixture (I make it sound so simple! He is rather handy and does a lot around the house, so this wasn’t hard for him to do.) I love the clean lines and the black color pop to go with the accents in the house.
I bought the rug back in the fall and was part of the inspiration for all the new house colors. It’s a gorgeous vintage style with muted colors. It’s pretty durable, which is great since it get’s lots of use at our front door.
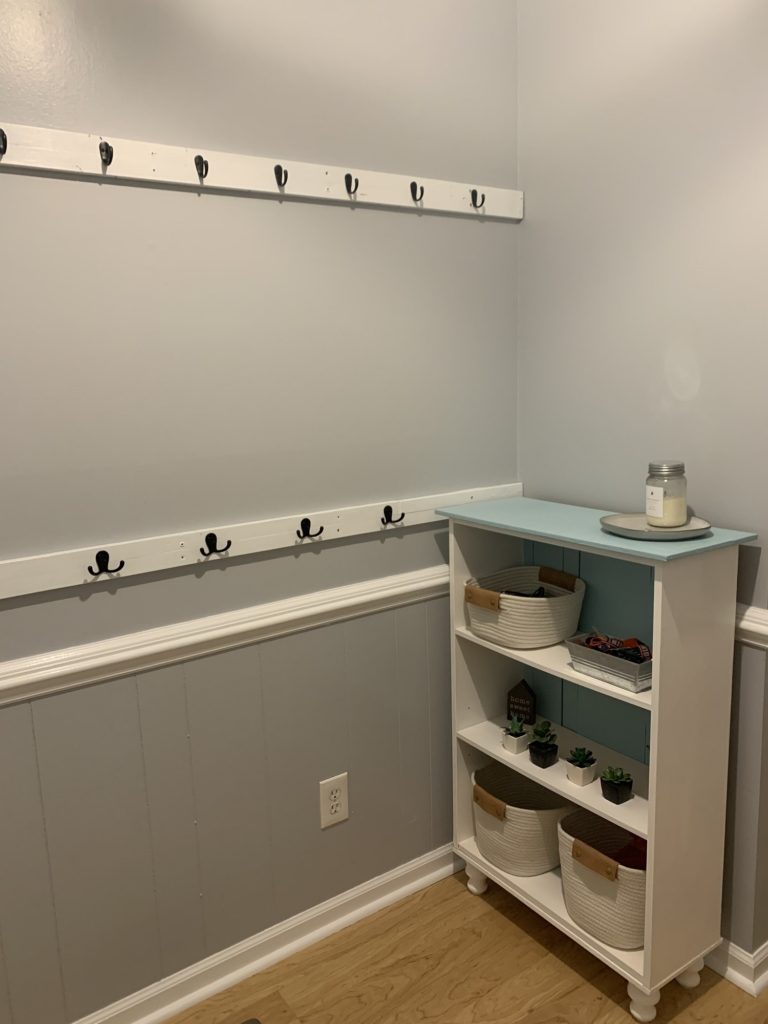
And let’s not forget the little details, even a new floor register!! I love this one, it’s simple, yet subtle and really makes the space unique. I am actually using this design all throughout the house and replacing all the old ones!
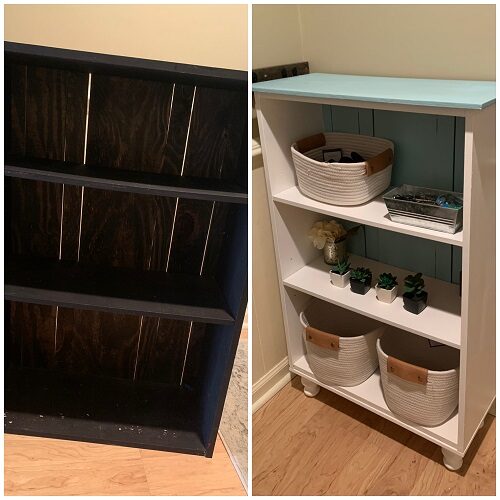
I updated the shelves earlier and wrote a post about it that you can find here. It was super simple, yet made an awesome impact on the space.
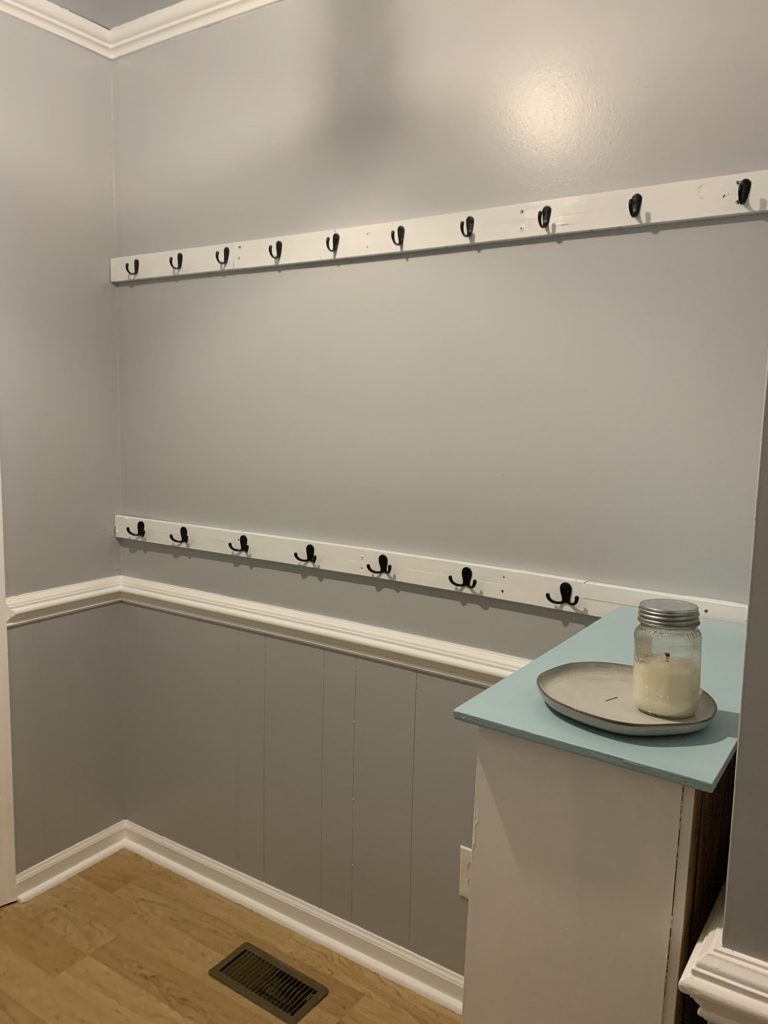
I love our hooks that hold a ton of stuff during the school year. Hubby made them with scrap wood and hooks I bought off Amazon (single hooks and double hooks). Having somewhere for the kids to hang everything by the front door is so important. It keeps everything off the floor for a more clean, simplified look.
I think though my favorite part is the DIY vintage style frame and quote. I will be sharing how to create this in another post coming very soon. So check back!!

This whole project costs about $100. That’s new paint, light fixture and converter kit. Add in the hooks and rug and you are looking at under $200 for a space you use everyday!
Now my entry way is somewhere I enjoy having people see. It flows into the hallway with the newly updated hall closet (you can check that post out here). It’s like a new house: new foyer and a new hall closet!
So grab a can of paint and start transforming a space today! Share with me your makeovers in the comments, or via email. And always, follow me on Instagram so you can keep up with all my projects. There still so many more to come!