As an Amazon Associate I earn from qualifying purchases.
We’ve been in our house for 14 years, and over those years we have done a lot of work. We’ve torn down walls and put in new floors. We’ve painted and painted some more. A lot of it has been cosmetic, but never did we touch the house number sign!
So the past couple of weeks, I have been working on projects that I have wanted to do for years, to make our house our home, my way!
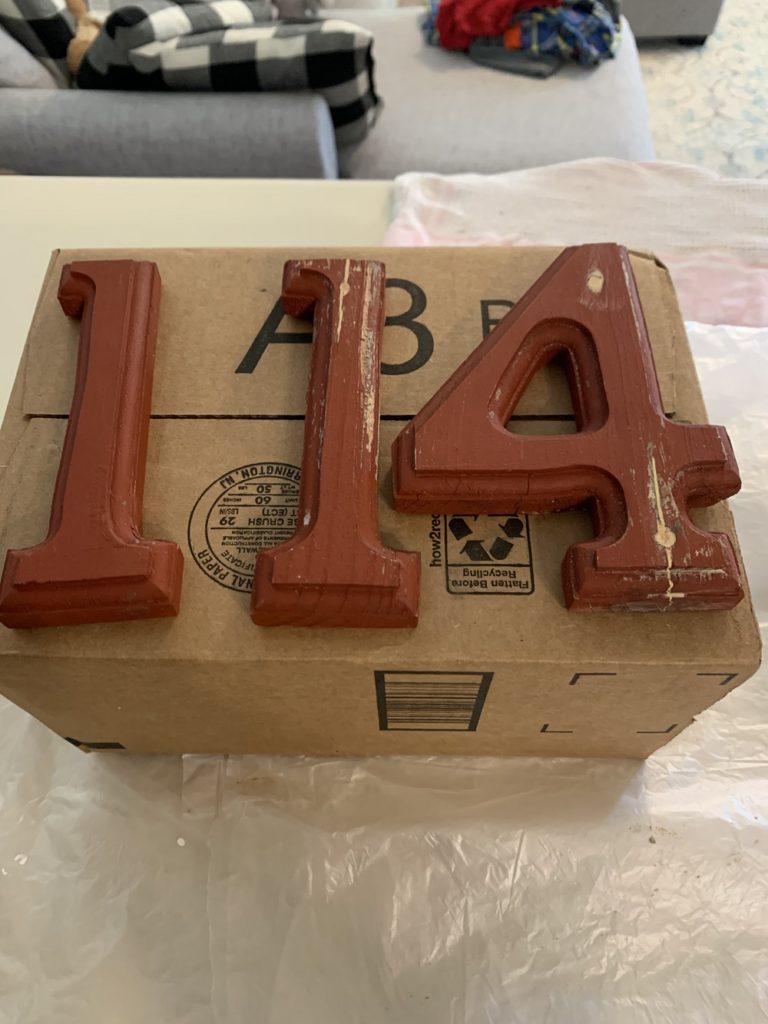
Our front porch needs a lot of help! I’m in the process of working on it some more, but I really needed to do something out our house numbers. The numbers on the house were an awful red/maroon color, and have been hanging there since we moved in 14 years ago! What was I thinking letting them sit there for so long?
I don’t have a ton of money to spend on some of those super fancy, nice signs on Etsy. So I had to go the cheap, homemade way. This entire project cost me a total of $30 and that was for the new house numbers. So here we go!
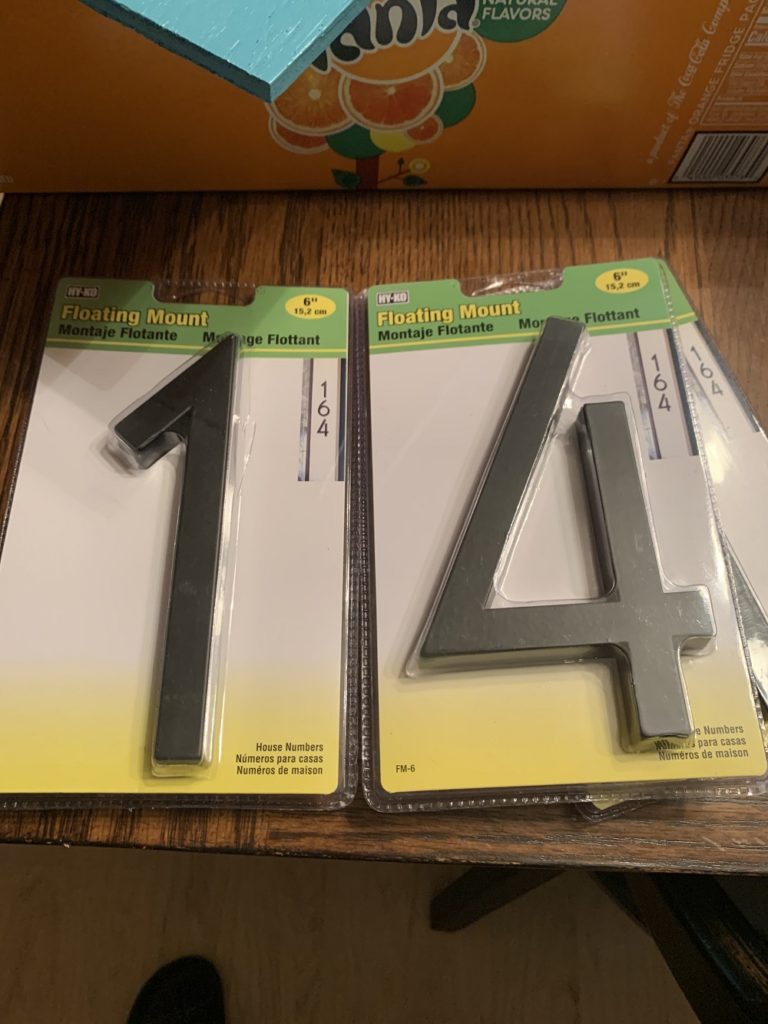
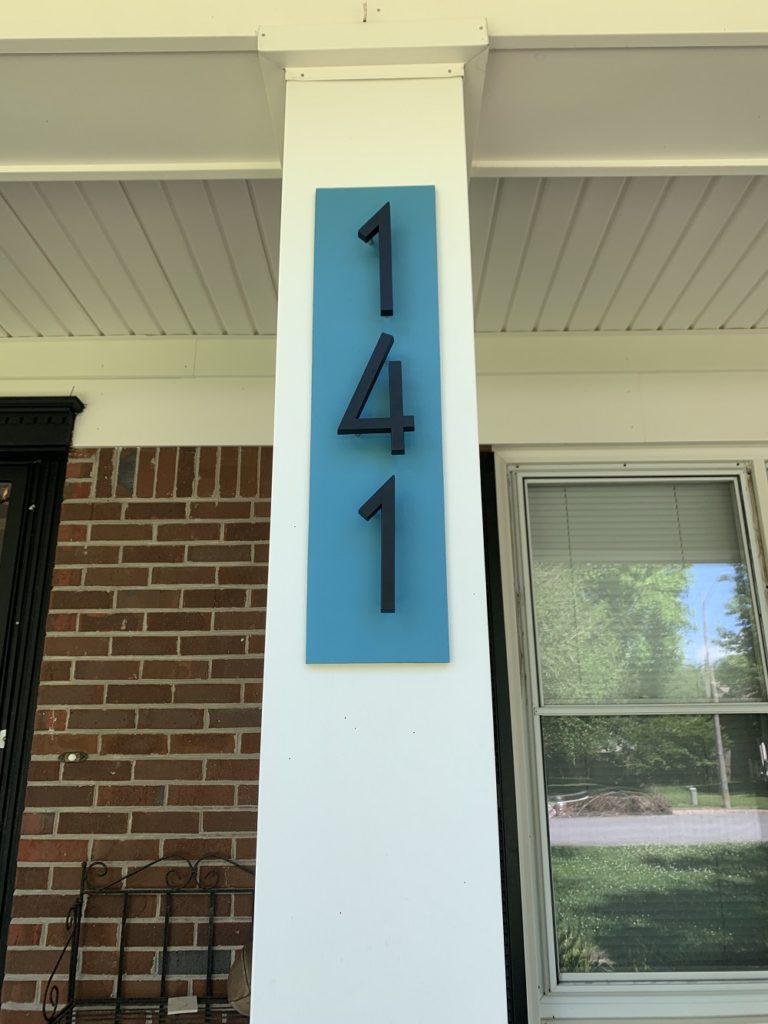
I bought these numbers online. I wanted something simple but noticeable. These were exactly what I wanted, and didn’t break the bank.
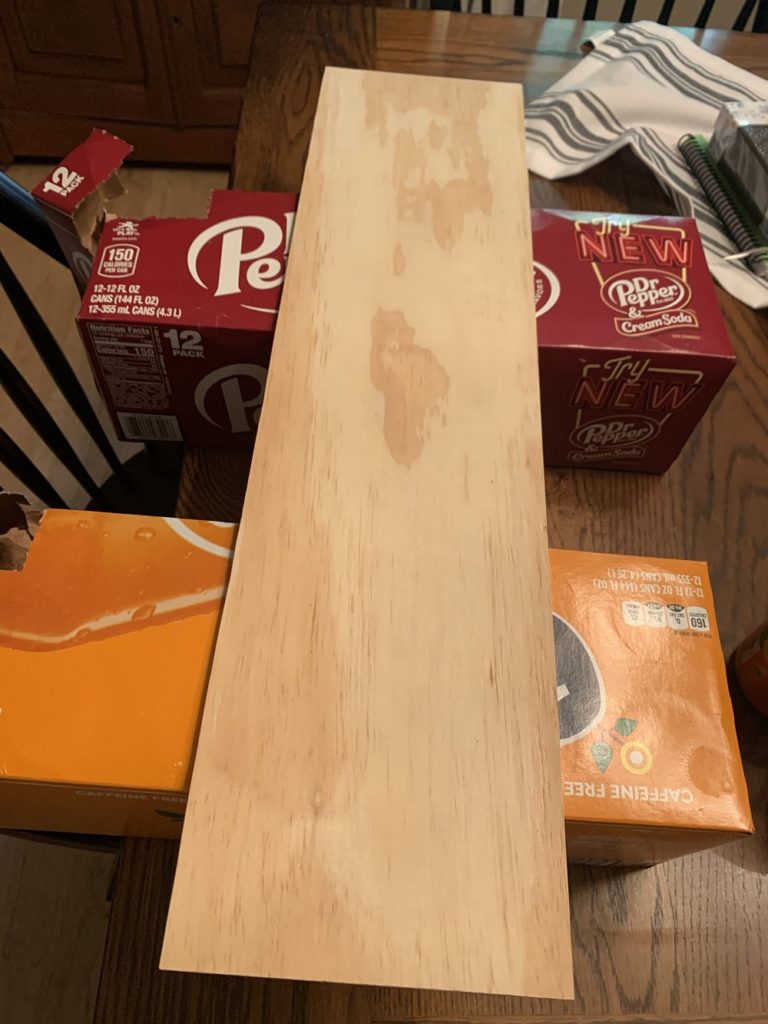
I measured a piece of wood that would be long enough and wide enough for the numbers. The numbers I bought were 6 inches each, I wanted space between and on the top and bottom so I used a 24 inch long piece by 6 inches wide. I used something we had on hand, I didn’t want to buy anything else. This was a thin piece, but would work. I didn’t want anything that was too heavy either that would fall off the house.
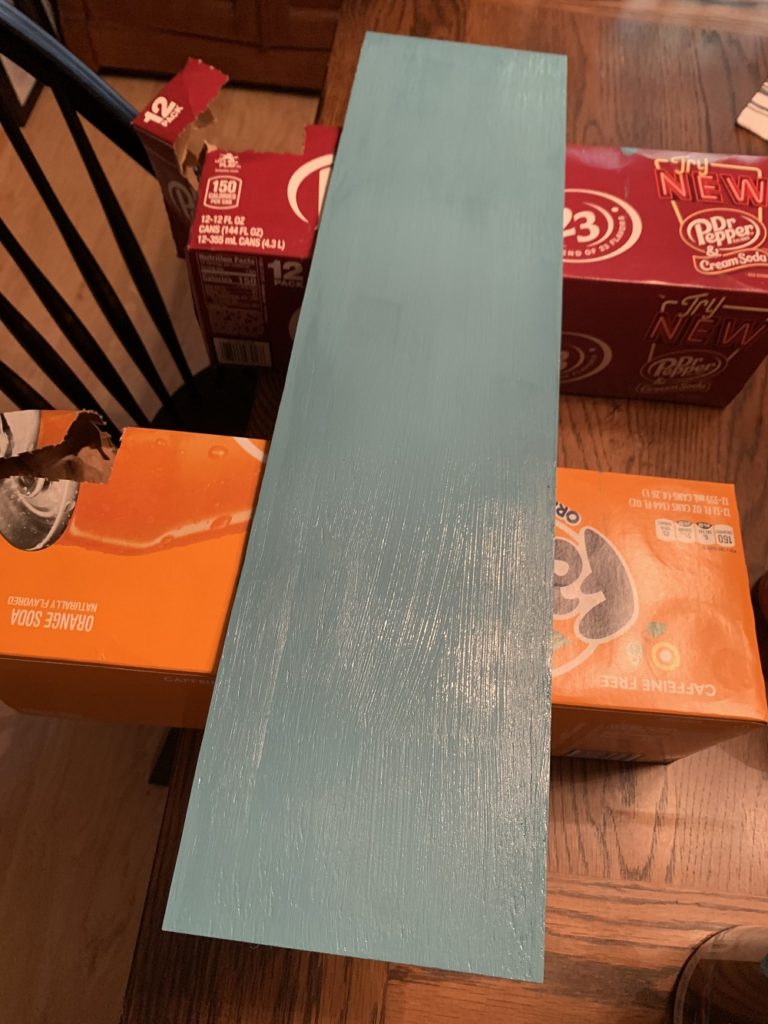
I recently painted our front door (you can find that post here) and I still had some of the paint on hand. I painted the wood the same color as the door to tie everything in together. I put two coats on the wood and let dry overnight.
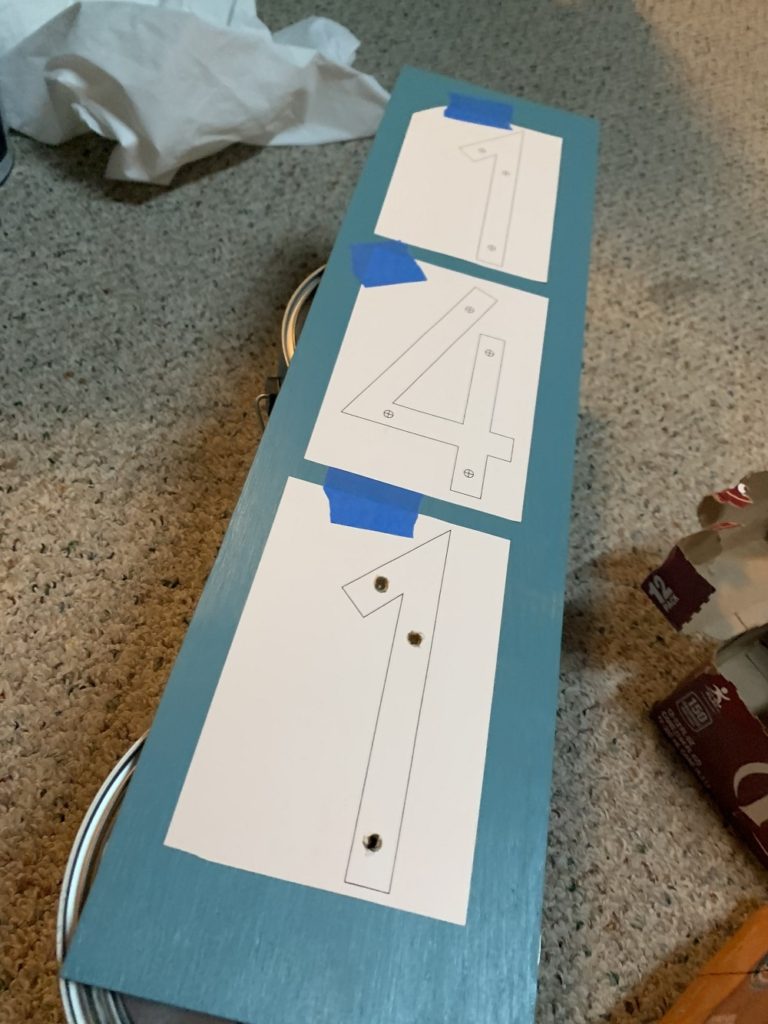
The numbers I used came with a paper template which is great. Since I’m a perfectionist I like to make sure everything is spaced out correctly. So I laid out the paper templates and then I used a drill to make the appropriate holes. Next I used a rubber mallet to bang the numbers in. All this was on the numbers as the directions to follow. Super simple!
Since my wood was thinner, the numbers came out of the back of the wood. Which was totally fine. I wanted to make sure they were going to stay in for years and not come out, so I used some wood putty on the back in the holes. This will hold the numbers in for while.
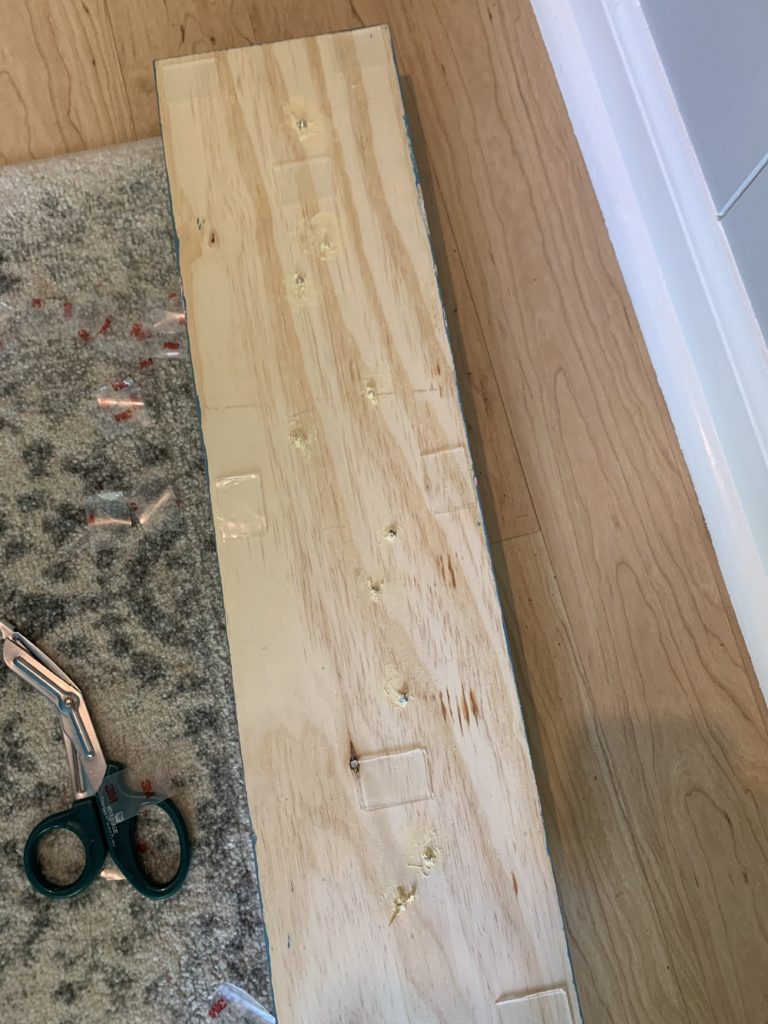
I’m a little picky when it come to hanging things. We have vinyl on our house, and I don’t want to ruin it, so I didn’t want to put any holes in it. I used some super strong double sided tape that we had on hand. I double it up so that the sign would hang a bit off the pillar when I hung it. You can find it here, it works great!
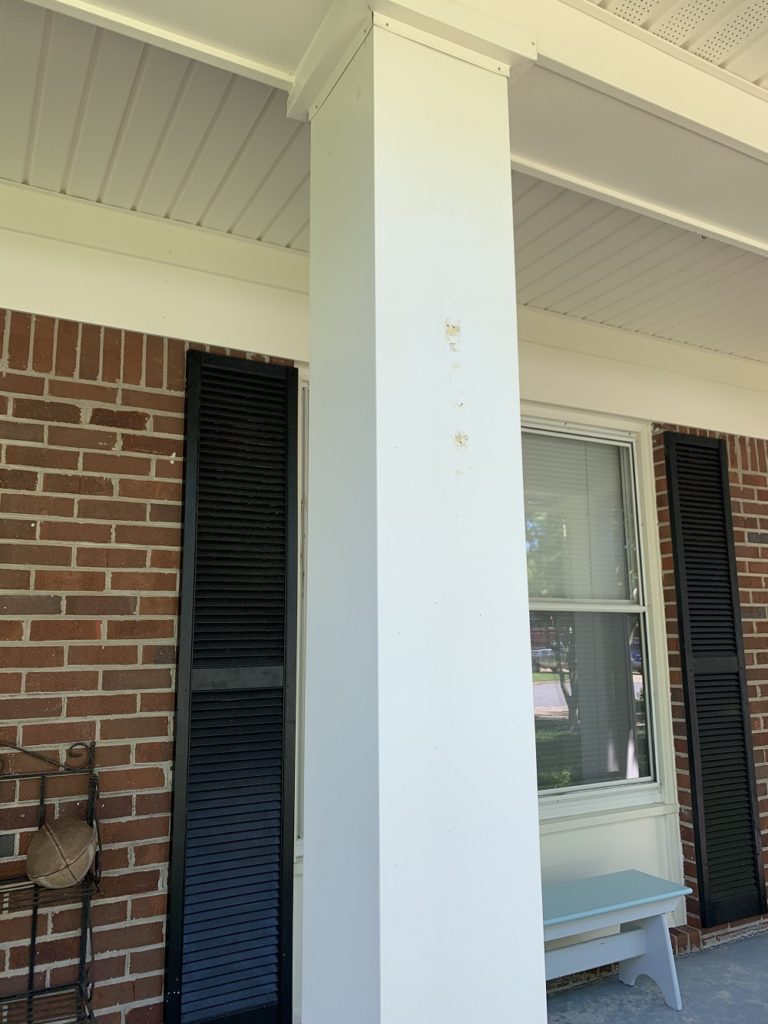
The previous homeowners used some nasty tape stuff on the back of the numbers. I had to really scrape the gunk off the pillar. I had to use lemon essential oil to get the sticky gone and then I used a Magic eraser to get the left over yuck off. Once it was cleaned off and dried, I was ready to put my new sign on.
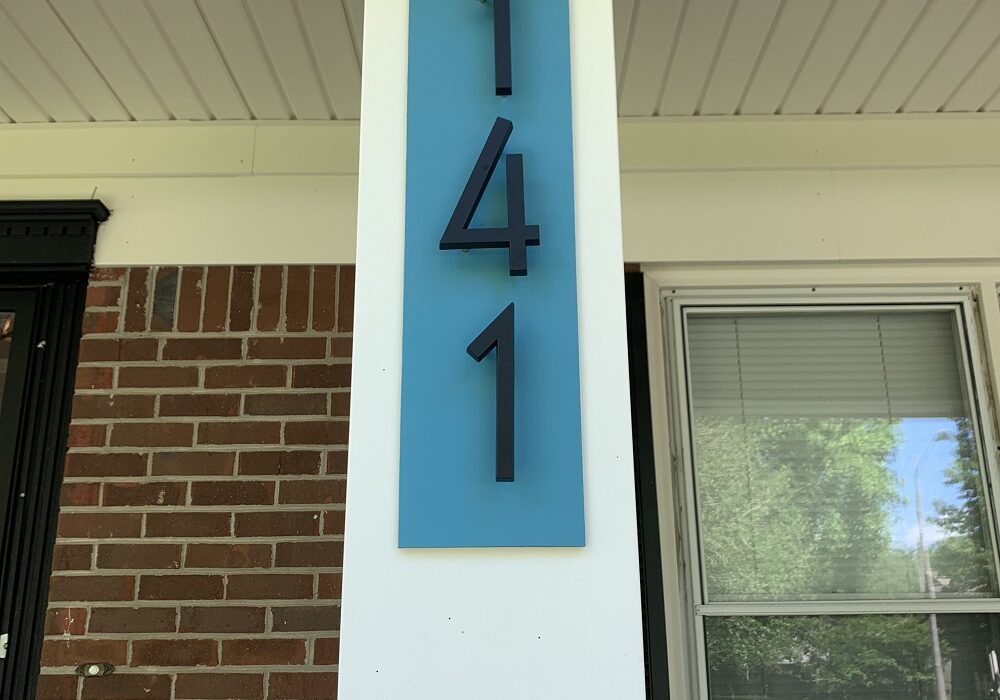
I love how this turned out! I love how simple it is, and how it matches the front door and rest of my house. So simple and costs me $30!
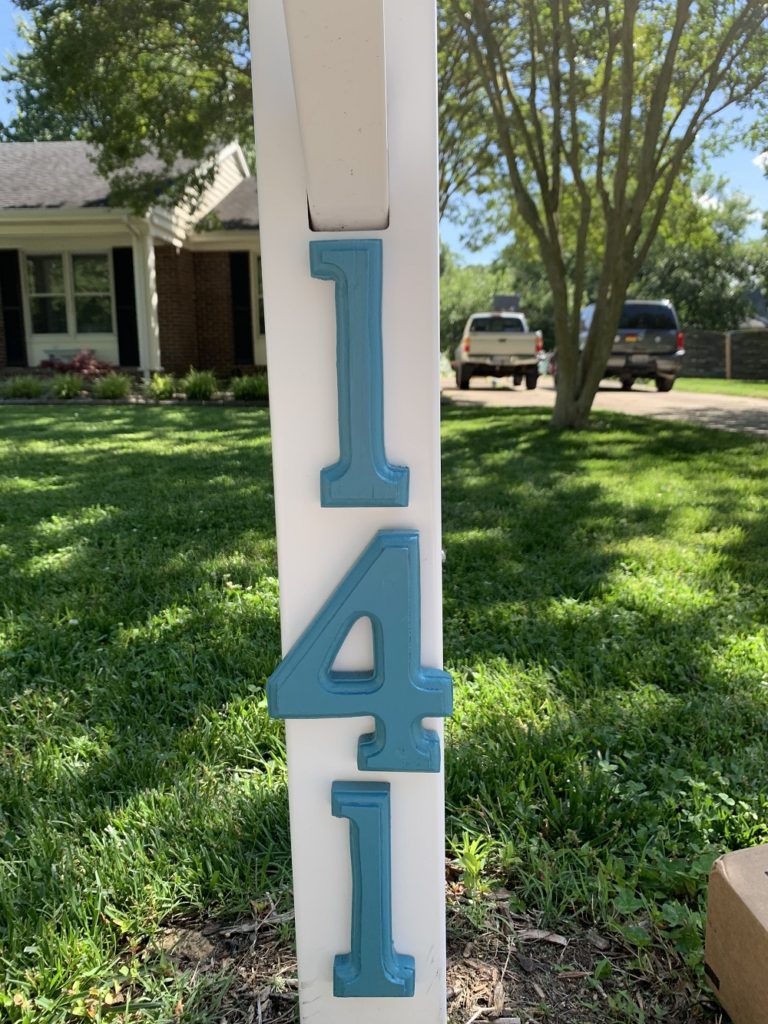
Now, if you’ve been around here long enough I love to reuse items to save me lots of money. I just couldn’t throw away those awful numbers! So, I scrubbed them with my favorite cleaner, Dr. Bronner’s. The numbers are old, so they had some cracks and holes from when the previous owners nailed and screwed them into the pillar. So I wood puttied the holes and cracks, and then sanded them. They looked brand new (the first picture on this post is of them all fixed up).
I went with the same color scheme and painted them to match the front door. This saves money, keeps with the entire color scheme and it’s outdoor paint so I know it will last. I only needed two coats of paint to cover up that awful red color and then used the same tape on the back.
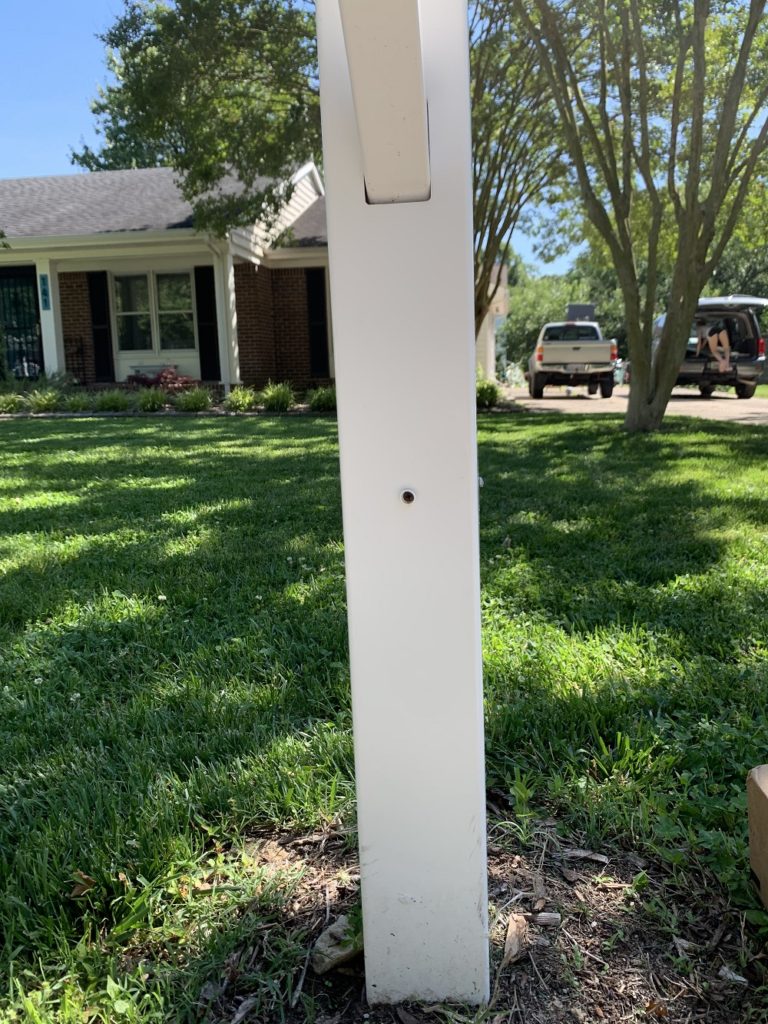
I put these numbers on our mailbox post out by the street. And I love how it turned out!
The front of our house is starting to come along! Keep posted becuase I have a lot more projects for this front space!
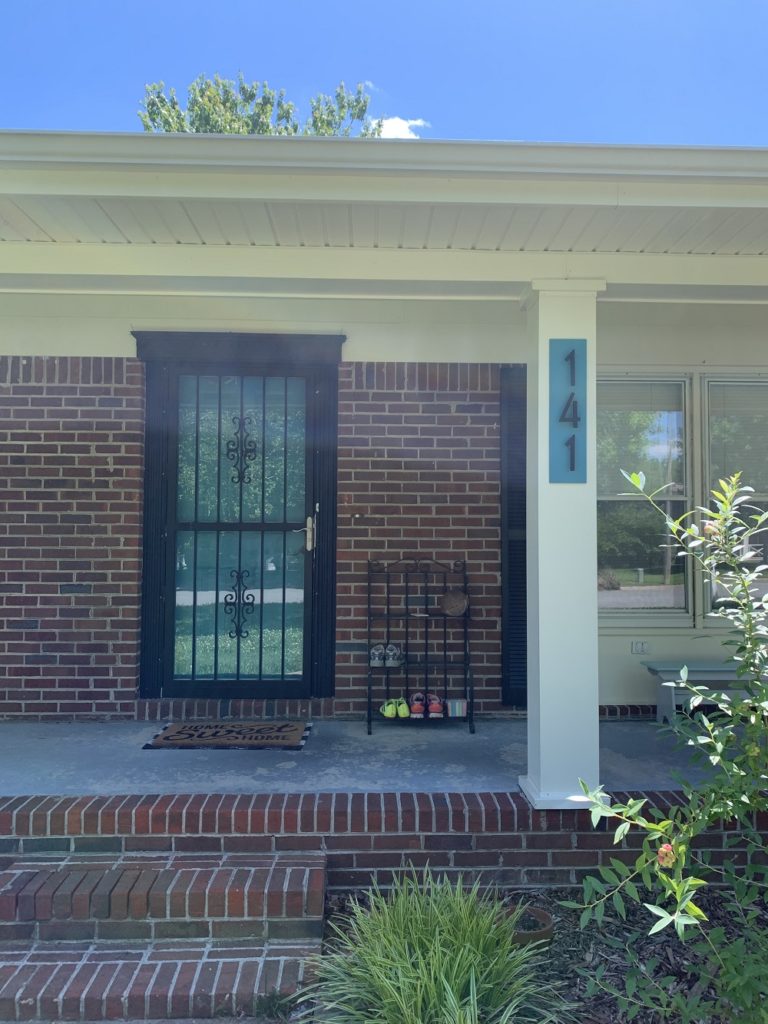
What do you think? I hope you jump in and make one for yourself! Enjoy!

